
Photoshop: A Step-by-Step Guide for Beginners - PART 1
Mar 06, 2025
What You’ll Learn
- 📂 How to Open an Image – Step-by-step instructions using a simple shortcut.
- 👁️ How to LOOK at Photoshop – Find out the purpose of basic components.
- 🔍 Master Basic Movements – Drill the basics of interacting with Photoshop.
Imagine cramming centuries of camera tech, retouching, post-production, tools and terms into a 2D program—then designing it so you can only learn it if you already know it. What would you call that?
If you said Photoshop, you are correct!
If you've ever opened Photoshop and felt like you spun out into oblivion, that wouldn't be surprising!
Flurbos wants you to win. Below are the true beginner's steps to Photoshop—ones you won’t find anywhere else.
💡 Heads-up:
- If you're already familiar with Photoshop, this will probably be snoozeville, but maybe not! Minimally, you can give this to the people that keep asking you to do tiny design jobs for them.
- Most of the topics we go over should translate pretty well to older versions of Photoshop, but you should note that we're showing screenshots from Photoshop versions 2024/2025.
- We aren't currently offering training for computers in general. For this article you should know how to download an image and navigate to it in your file manager. You should also have Photoshop installed on your computer as well.
- We’ll define terms as we go and offer alternative phrasing to make things clearer. Pro tip: When in doubt, look up any word you don’t understand—it’ll make everything click faster.
Let's get started!
1. Launch Photoshop
🚨 Make sure you have installed Photoshop on your computer.
- Below, find the type of computer you're using and follow the instructions to launch Photoshop:
- MAC:
Command + Space Bar
Type in "Photoshop"
Click to select Photoshop when it shows up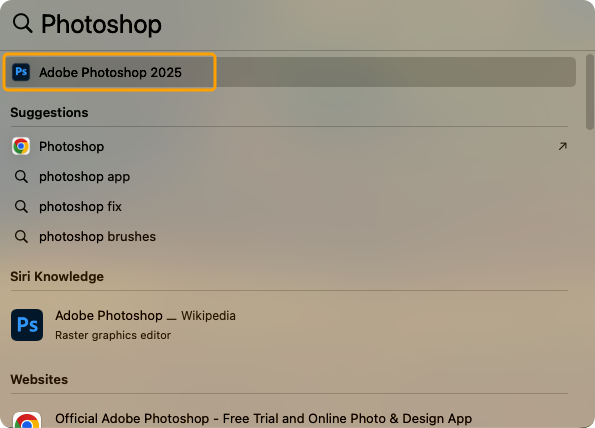
- WINDOWS
Start Menu
Type in Photoshop
Click to select Photoshop when it shows up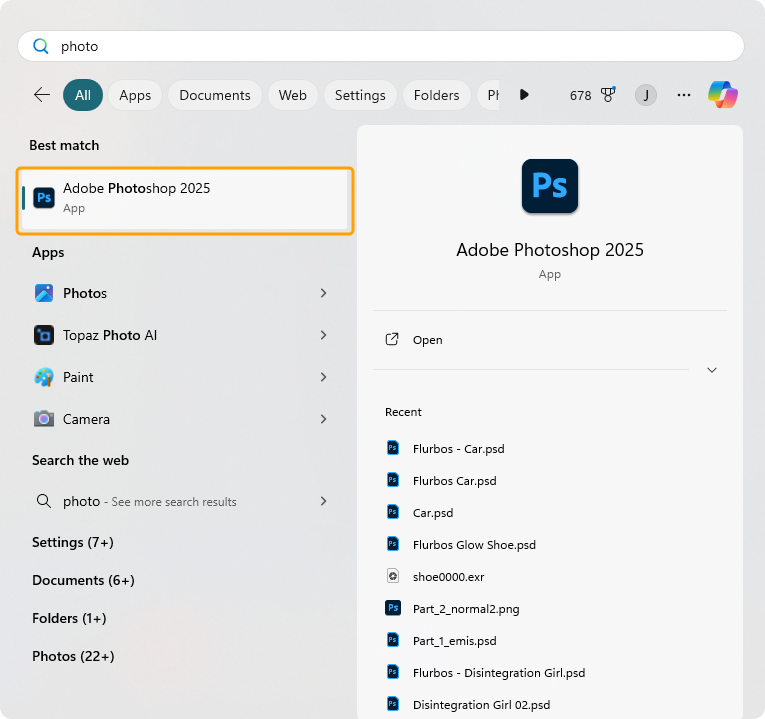
- What are we looking at now?
This is Photoshop's "home" page. Some users may use it for opening recent projects, the team at Flurbos finds this page a nuisance, so we give you permission to ignore this page.
If you find it helpful and have already been using it, we love it for you! Keep on using it.
If you have a much older version of Photoshop, this part is useless to you.
Let's move on!
2. Open an Image
- Click the image below to download it from Pexels. Save it to your desktop.

- Go back to Photoshop.
- Press Command + O (Mac) or Control + O (PC) to open the image.
- Navigate to the downloaded image, select it, and click 'Open'.
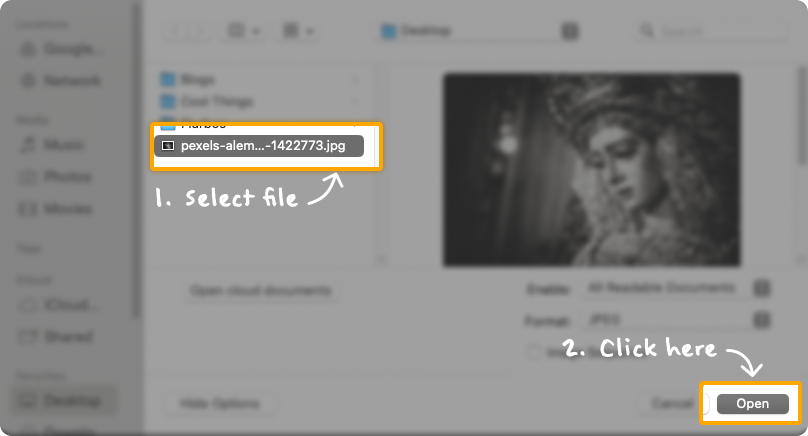
- Well done! You’ve successfully opened an image in Photoshop. 🥳
3. The Photoshop Workspace
If everything went well in the previous step, you should see something similar to the image below. This whole thing is called, The Workspace. 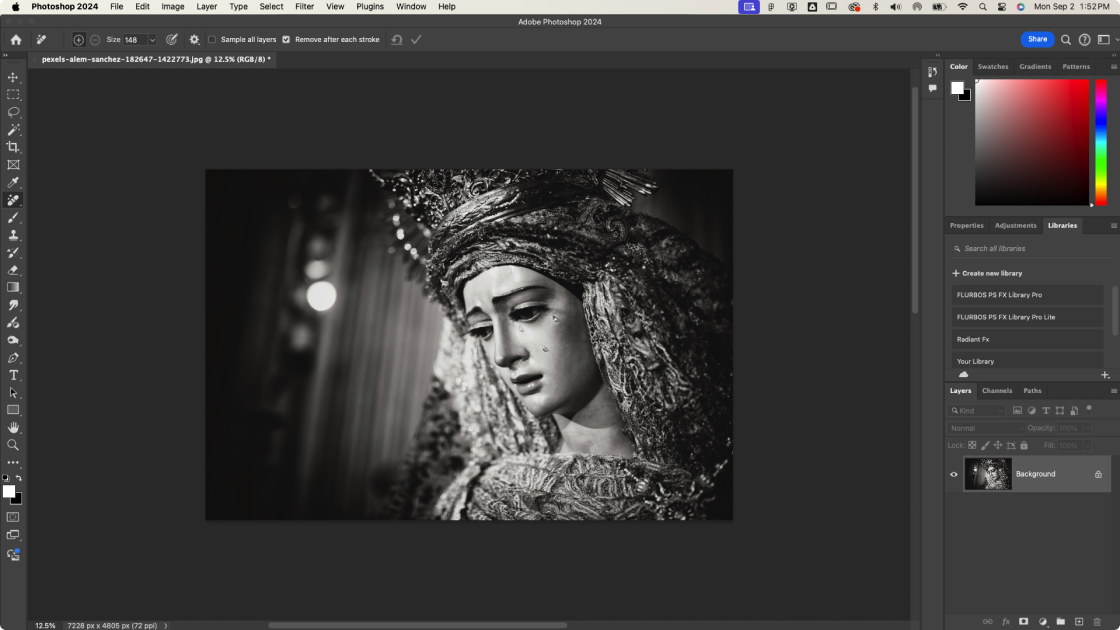
The Purpose of the Workspace
The Workspace is the area where you interact with your project. Think of it as a digital workbench, similar to a chef’s kitchen or a scientist’s lab.
At some point, when you have a purpose for the gadgets and gizmos, this is where you will have exactly what you need at your fingertips. Since you most likely don't know what you need yet, the placement and content of everything is utterly moot.
Let’s break it down further.
- The Project Space
Alternate names are:
- Canvas
- Art Board
- Document Area
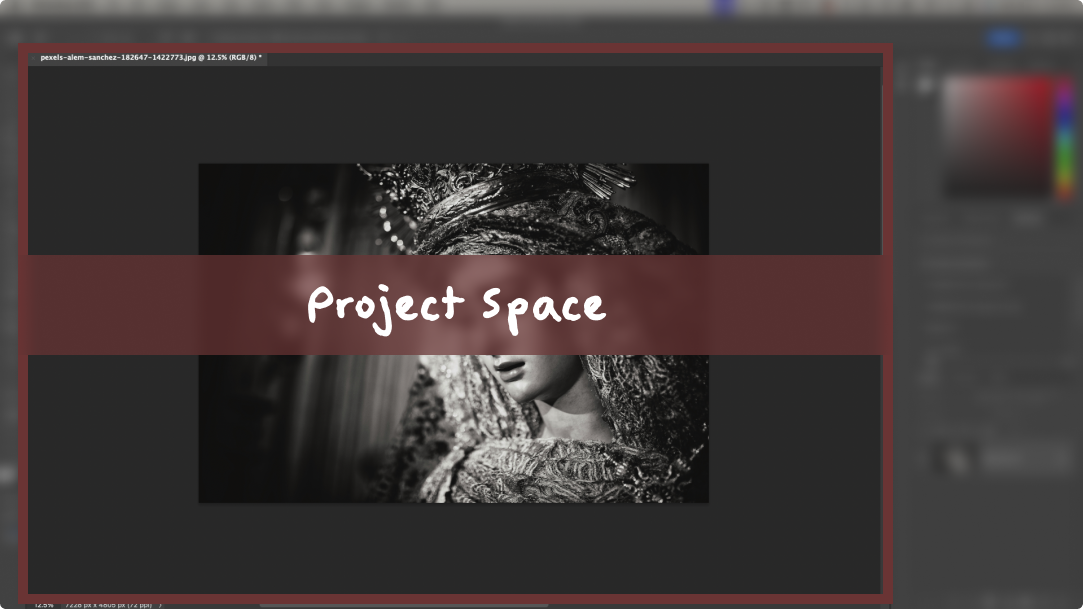
This big space is where you can see your image. It is where you will interact directly with your project or image itself. We say project because you may have a big complicated art piece one day that uses a bunch of different things to make it come together, but it could also be just a picture and that's all. Adobe likes to call it a document, but this is not Microsoft Word.
D E F I N I T I O N
Project (noun): a planned activity with a goal at the end.
Using the Project Space
You will move your image and zoom in and out of it more than ANYTHING else in Photoshop. Getting good at this is of great importance.
PRACTICAL: Move Your Image
- Move Your Image Around
- Press the space bar on your keyboard at the same time as clicking and holding your image and moving it around. You'll see a little hand appear where your cursor was.
Go ahead, try it out. We promise this text won't disappear.
- Press the space bar on your keyboard at the same time as clicking and holding your image and moving it around. You'll see a little hand appear where your cursor was.
- Zoom In
D E F I N I T I O N
Zoom (verb): Adjusting the magnification of an image, object, or text to see more detail (zoom in) or a broader view (zoom out).
- Press the 'Z' key on your keyboard and click on your image once. You'll see your cursor turn into a magnifying glass with a plus symbol. This will zoom in double the amount.
- Click the image again and it will zoom in again.

- Zoom Out
- With the 'Z' still selected from Step 2, hold down the alt key on your keyboard (on PC) or option key (on Mac) while at the same time as clicking on your image once. You'll see the magnifying glass will have a minus symbol now. This will zoom out double the amount.
- While still holding the alt (or option key), click the image again and it'll zoom out again.

Tip: There is a handy display at the bottom left of the workspace that tells you how zoomed in or out you are in terms of percentages. It looks like this:
PRACTICAL: Zooming with Precision
- Zoom into a specific part of your image
- Place your cursor right on the lowest teardrop on the statue's face
- Press Z on your keyboard once
- With your mouse, click and drag to the right until the zoom percentage displays about 300%.
- Move while zoomed in
- On your keyboard, press and hold the space bar.
- On your mouse, click and drag the image down and to the right to find the top left tear on the statue - sort of like you would a piece of paper.
- Then click and drag your image to the left to find the top right tear on the statue.
- Zoom out by sliding your mouse
- You should have your zoom tool selected still, if you're not sure, on your keyboard, press the Z.
- On your mouse, click and hold, then drag your mouse to the left to zoom out. The display percentage should say about 20%.
If you successfully did this, well done!
You're now more efficient than MANY Photoshop users. If it feels a little foreign to you, you're not alone. Feel free to practice this moving and zooming movement with your keyboard and mouse as many times as needed until you feel confident to continue - most of us don't learn to fluently play Chopsticks on the piano on the first try.
Stay connected with news and updates!
Join our mailing list to receive the latest news and updates from our team.
Don't worry, your information will not be shared.
We hate SPAM. We will never sell your information, for any reason.
